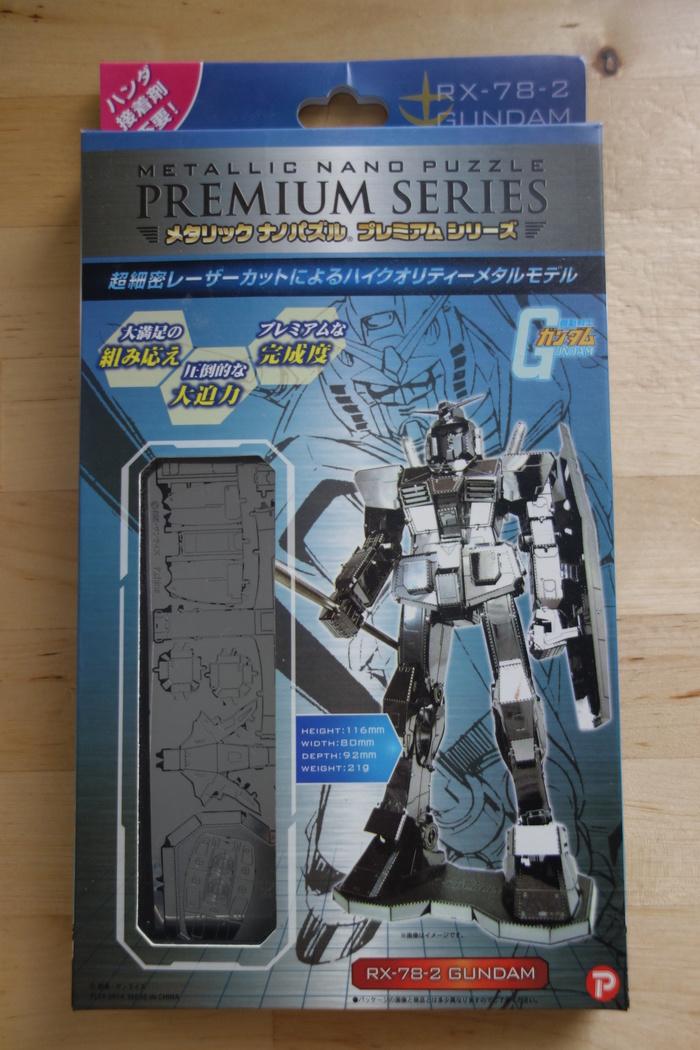
This delightful gundam kit was given as a gift a while back. I had been wanting to build it for a while now but it looked so good on the shelf! (read: lazy.)
I've built plastic 1/144 and 1/100 scale gundams before but never seen, let alone built, one made out of sheet metal. Totally ready to geek out now!
Tools
Minimal tools are required to construct this gundam. Just a small set of tweezers, clippers and a metal file.
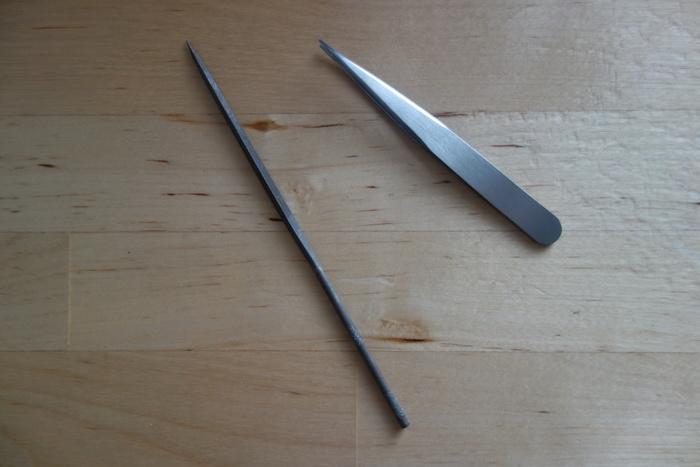
The instructions suggests a pen (for rolling circular parts) and a marble (for shaping the head dome) to be helpful also, but these are optional.
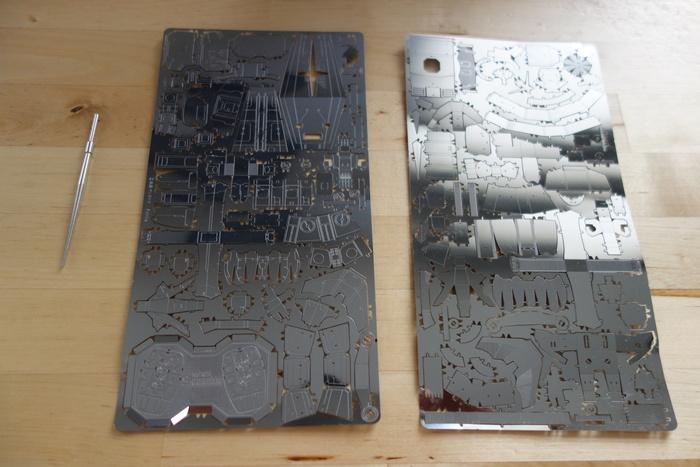
Contents
Contents include two large pages of instructions and two small pieces of sheet metal. Most of the individual pieces can be rotated out and broken cleanly off. The rest can be removed with some clippers. Any flashing can be cleaned with a small metal file.
Basic instructions
The instructions were very clear and colour coded, as one would expect from any Japanese gundam kit. Every step can be completed with just the diagrams themselves.

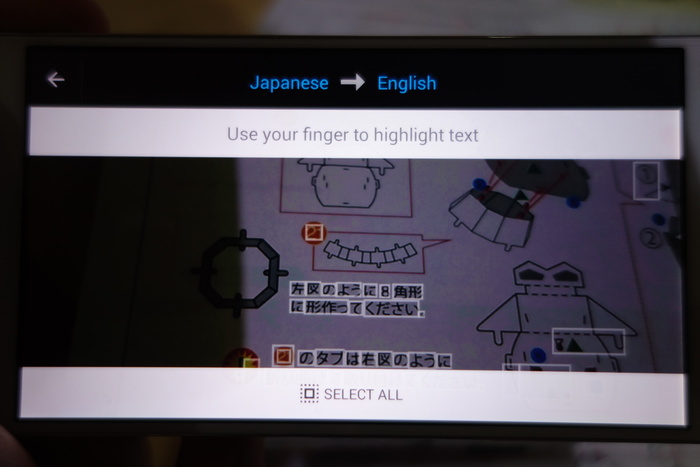
There were a few special ordering or warning symbols; I used the Google Translate app to translate the text by taking a photo. This would have been so useful back in the day!
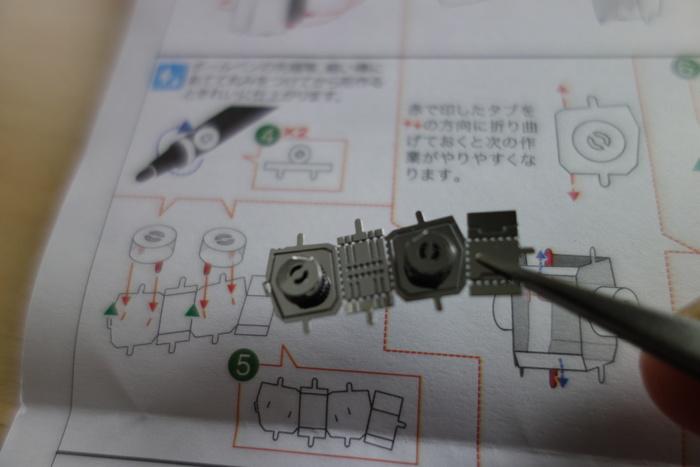
Most diagrams make use of arrows telling you how to bend and connect pieces. In addition, a blue circle meant the metal tabs were to be bent 90 degrees, whereas a green triangle meant the tabs were to be twisted. Easy!
Each section of the instructions provided an estimated time for completion, as well as a difficulty level (maximum was five stars). I'll include these below for reference.
The build
With all that out of the way, let's move onto the fun!
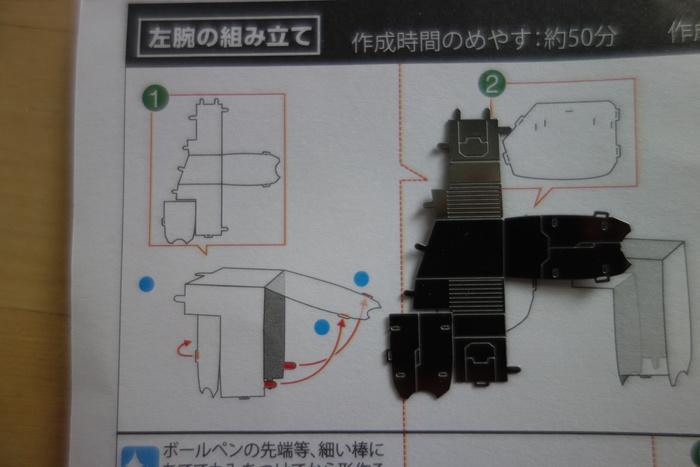
Left arm
- Estimated time: 50 minutes
- Estimated difficulty: 2 stars
We begin by twisting parts out of the stamped sheet metal and making sure it is in the correct orientation. There are minimal words on each step as the diagrams are very easy to understand.
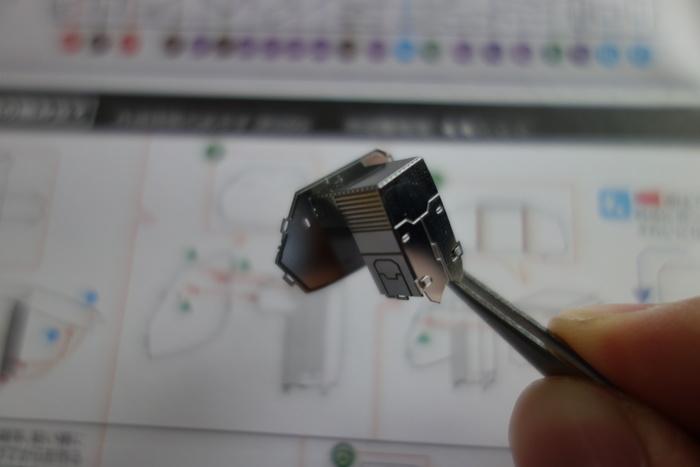
Construction continues with the shoulder.
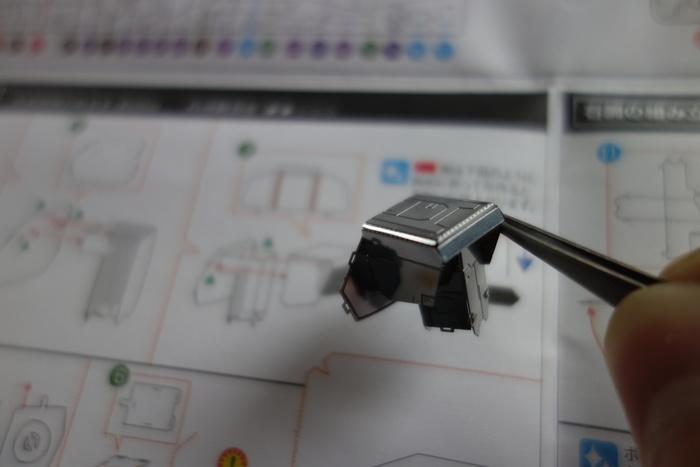
Then the elbow. A pen is useful here for rolling.
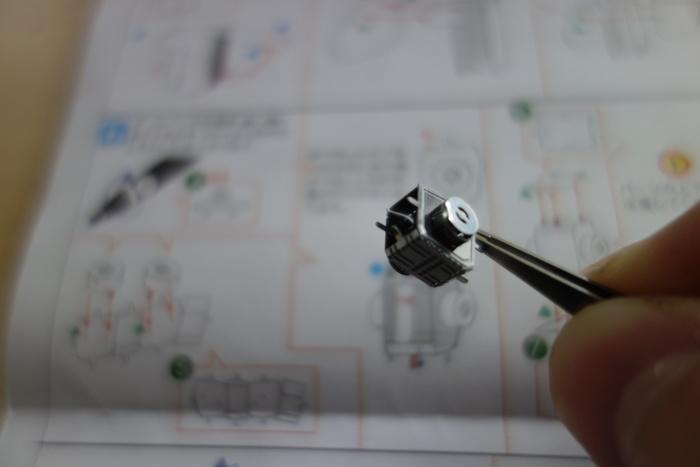
To avoid being boring, I'll just show the final construction of each section.
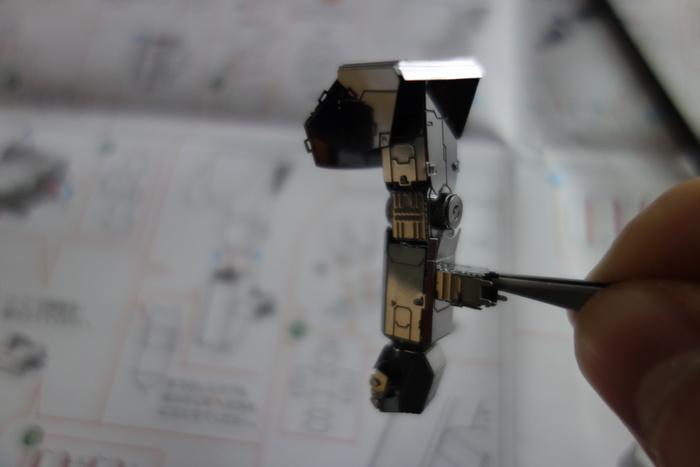
Right arm
- Estimated time: 50 minutes
- Estimated difficulty: 2 stars
This arm went much more smoothly than the first after getting used to the construction method. No major problems.
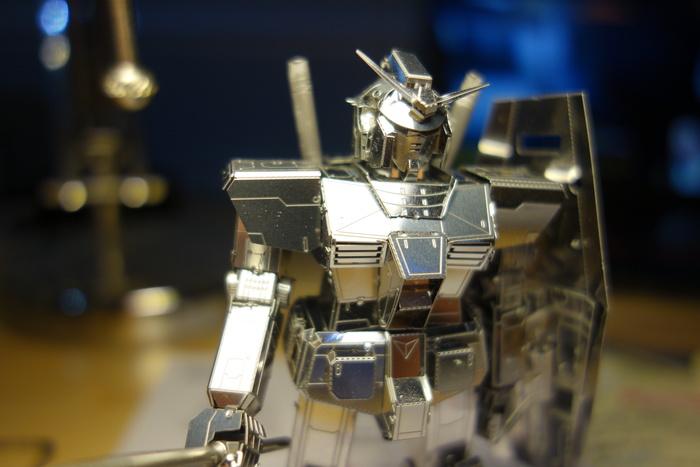
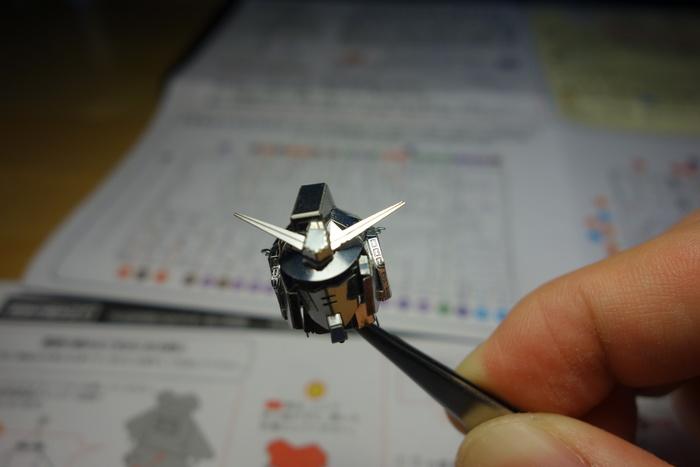
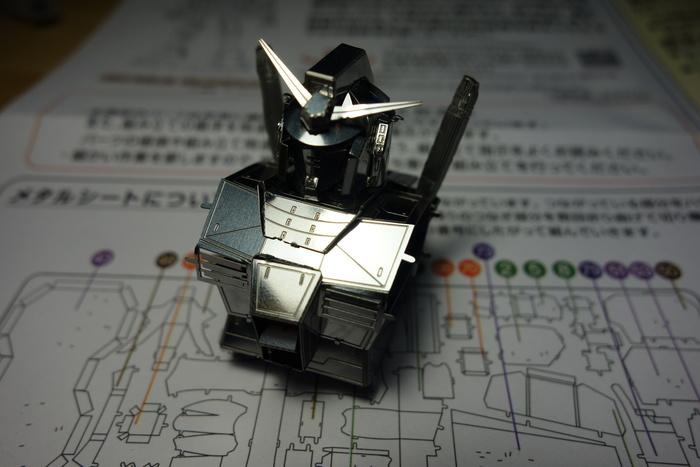
Head
- Estimated time: 60 minutes
- Estimated difficulty: 5 stars
This was by far and away the most difficult section. Each piece was small and fiddly to shape. Much patience and steady hands were required!
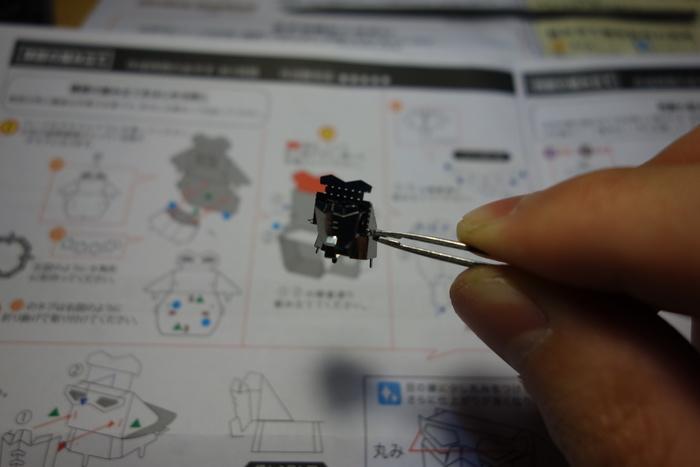
As you can see from the photo, I didn't get the positioning quite correct; should have gotten another pair of tweezers!
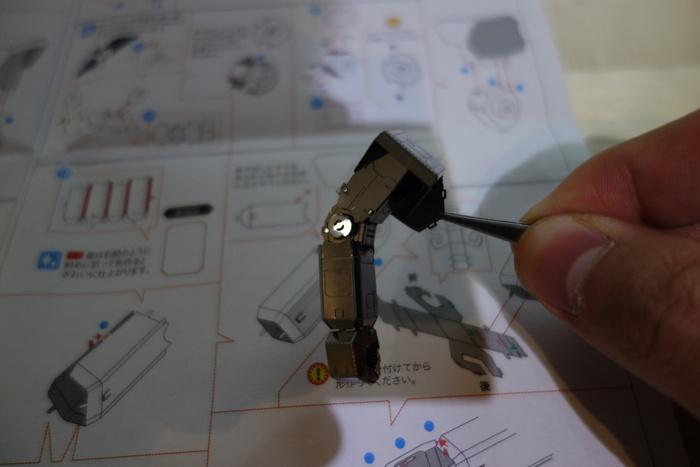
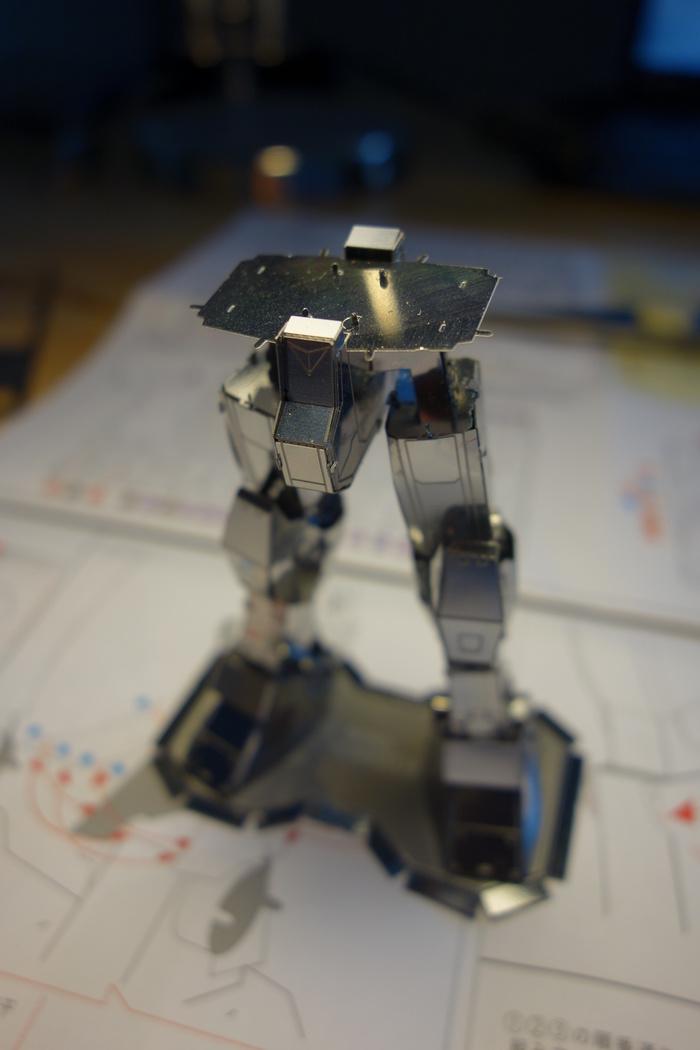
Legs
- Estimated time: 30 minutes
- Estimated difficulty: 3 stars
Both legs are the same except for the orientation of their top connection pieces. Special attention was required for the ordering at first; the knee joint needed to be inserted in place before locking the metal tabs in place.
The bottom parts were left un-constructed in preparation for the next section.
Feet
- Estimated time: 30 minutes
- Estimated difficulty: 3 stars
The feet are symmetrical with the only difference in their vertical angle. Mounting them on to the base and connecting the legs was straightforward.
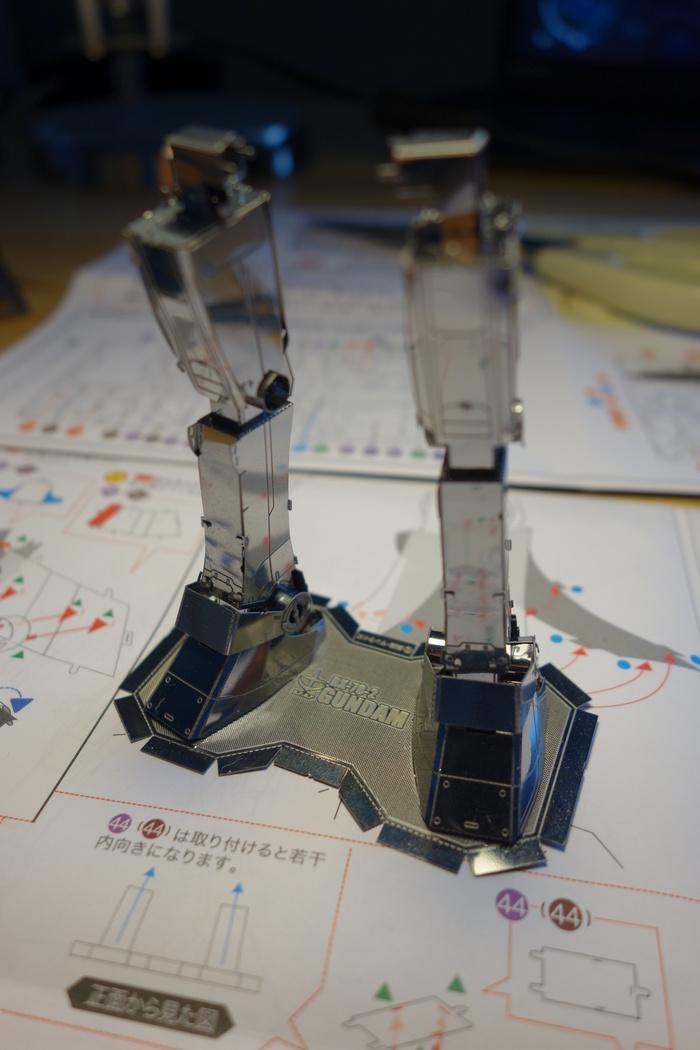
The knee joint and caps were next. These were wonderful but fragile pieces. Connecting the final plates for this section provided stability to the lower body and we begin to see the gundam take shape.
We now enter in the final stages of construction.
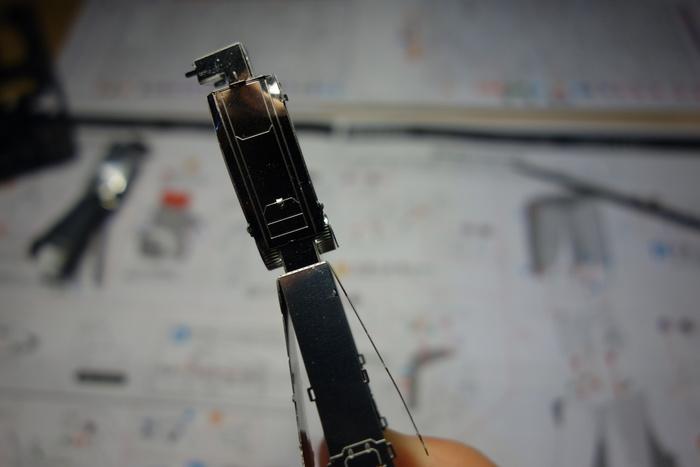
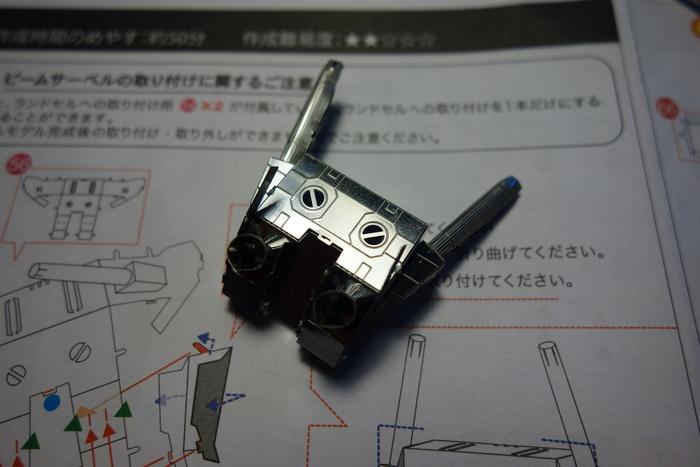
Backpack
- Estimated time: 50 minutes
- Estimated difficulty: 2 stars
The backpack required only a few parts and only the pieces which required rolling were troublesome; getting them perfectly cylindrical proved impossible due to their small size.
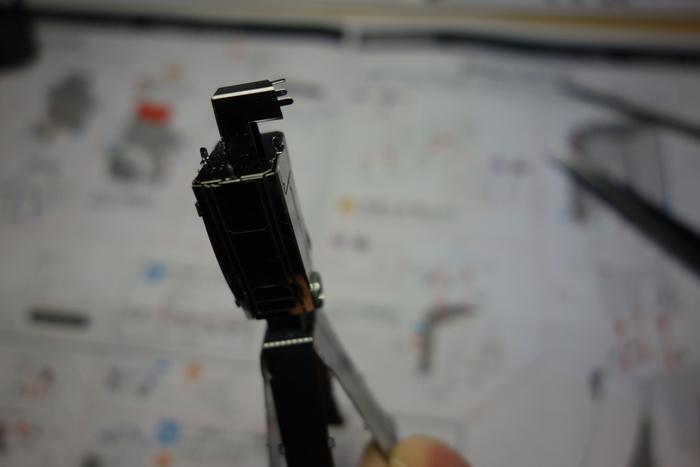
Torso
- Estimated time: 60 minutes
- Estimated difficulty: 3 stars
Building the torso was great fun! Large rectangular pieces made for quick and easy construction. The previously assembled head locked in to place with precision. Connecting the upper body to the lower body was fulfilling indeed.

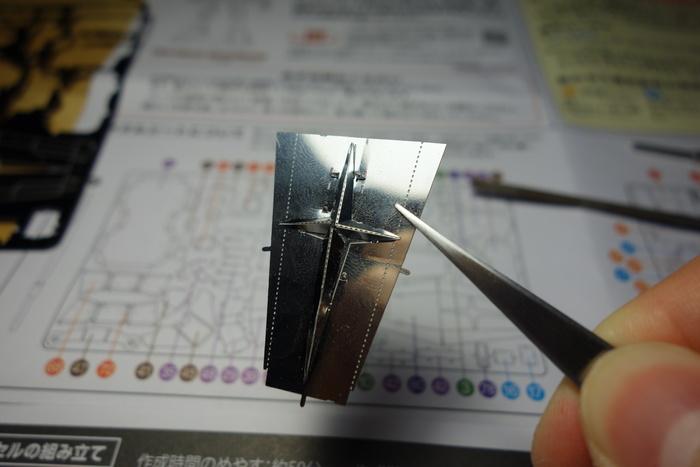
Shield
- Estimated time: 30 minutes
- Estimated difficulty: 2 stars
This penultimate section took a little longer than expected. The extremely small pieces had to be bent at the right angle to attach to the shield. Bending small pieces of metal with one set of tweezers and fingers is hard! Nonetheless, patience proved to be the victor and we now have a shield.
Final assembly
- Estimated time: 30 minutes
- Estimated difficulty: 3 stars
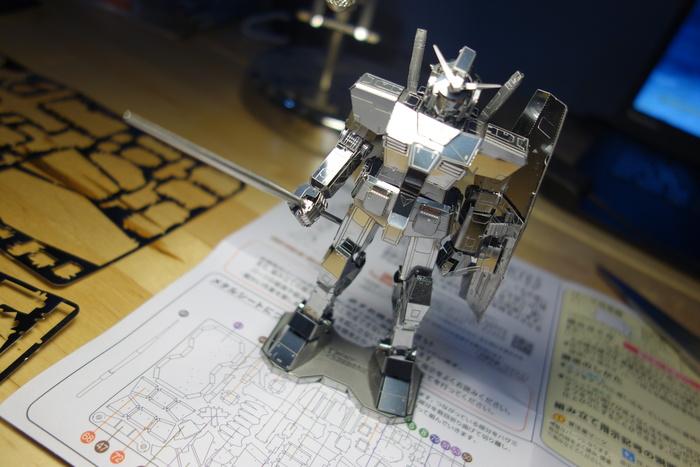
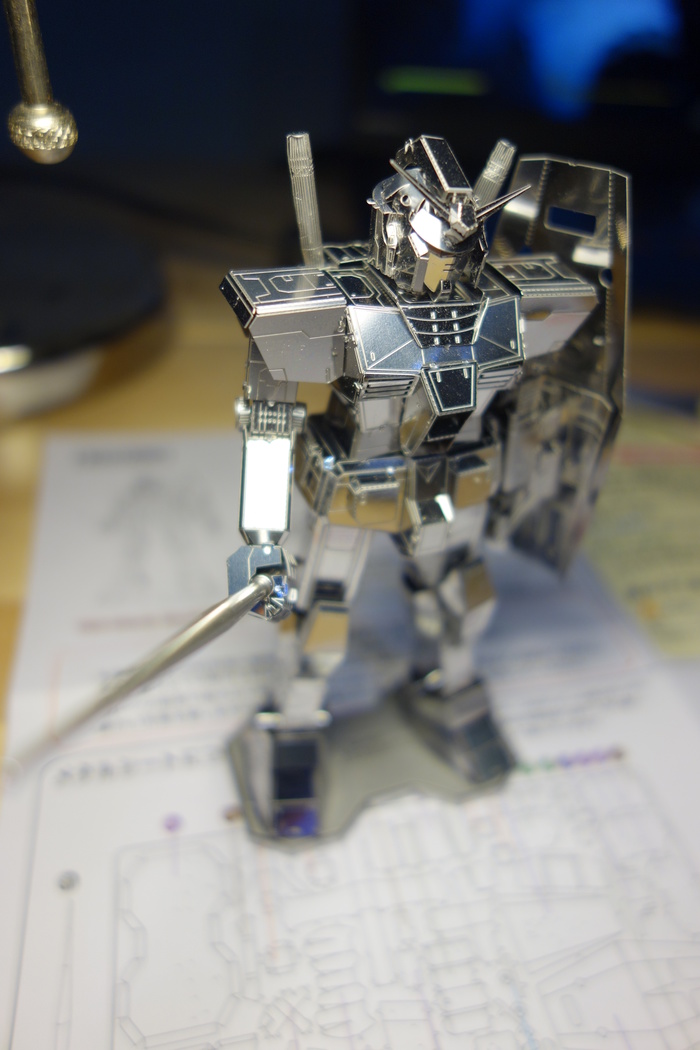
The arms attached to the upper body with great ease. No problems there. The shield then popped onto the gundam's left arm with some final shaping. Positioning the metal light sword then completes the construction!
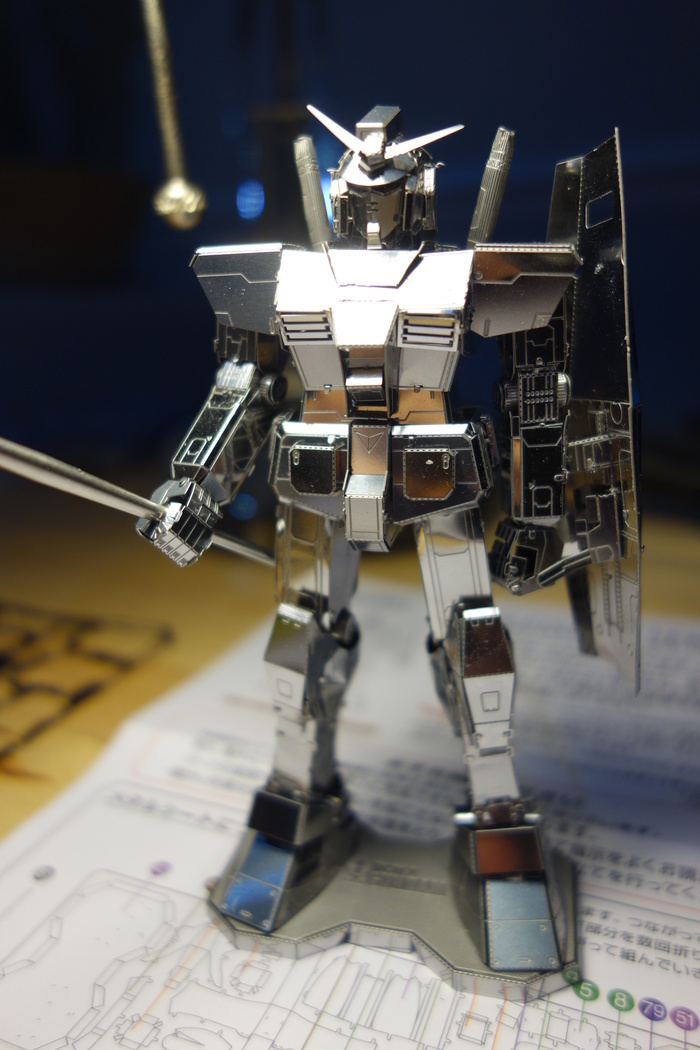
Conclusion
All in all, this was a wonderful kit to make, had hours of fun and some sections really tested the rusty model making skills.
Definitely have a good light source prepared; it will help prevent eye strain when dealing with those pesky small pieces!